%22%20stroke-width%3D%223.2%22%20stroke-linecap%3D%22round%22%3E%3C%2Fpath%3E%3Ccircle%20cx%3D%2252%22%20cy%3D%2250%22%20r%3D%222.2%22%20fill%3D%22currentColor%22%3E%3C%2Fcircle%3E%3C%2Fsvg%3E)

Commissioning a custom resin river table requires defining your room's dimensions, selecting a wood species, choosing a resin color, and confirming a final price before any cutting begins. Live Edge Tables Co. guides homeowners through this process by using a digital design tool that provides instant estimates and allows for full customization of the slab, base, and finish.
Step 1: Define the Room and Function
The first step in commissioning a table is determining exactly where it will live and how it will be used. A dining table requires different proportions than a coffee table or a desk. You must measure the available floor space, including clearance for chairs or foot traffic. This ensures the piece fits the room without overwhelming it.
For a dining table, consider the number of guests you typically host. A 96-inch table seats eight comfortably, while a 72-inch table is better suited for four to six people. If you are unsure of the exact size, a professional design visit can help. Live Edge Tables Co. offers a design and measure visit where a carpenter comes to your home to take precise measurements and discuss your vision.
Step 2: Select the Wood Species
Choosing the right wood is critical because it determines the table's color, grain pattern, and stability. Black walnut is a classic choice, known for its chocolate brown tones and purple-gray streaks. It is dense and stable, making it ideal for high-traffic dining areas. Another option is pecky cypress, which features fungus-carved pockets that give each slab a wild, organic look.
Bald cypress is a honey-gold wood with a tight grain that handles humidity well, making it a strong candidate for coastal homes. White oak is pale and strong, with a ray fleck that catches the light beautifully. The wood you choose should complement your existing interior design. For example, a dark walnut table pairs well with lighter walls, while a pale oak table can add warmth to a modern, minimalist space.
Step 3: Choose the Resin Color and Style
The resin is the defining feature of a river table, and its color should contrast with or complement the wood. Clear amber resin allows the wood grain to remain the focal point, while opaque colors like Gulf turquoise or obsidian create a bold, artistic statement. The style of the table also matters. A river table features two slabs with live edges facing each other, with resin poured in the center. A waterfall style runs the grain over one end and down to the floor, creating a dramatic visual effect.
You can also combine styles, such as a river and waterfall combination, for a more complex design. The resin color should be chosen based on the lighting in the room. In a dimly lit space, a lighter resin color can help reflect light, while a darker color can add depth. The resin is poured between the slabs and cured to create a smooth, glass-like surface that is durable and easy to clean.
Step 4: Select the Base and Finish
The finish protects the wood and resin from moisture, heat, and wear. Hardwax oil is a matte finish that feels like wood and is easy to repair at home. Hand-rubbed tung oil provides a low luster, warm finish that is applied in many thin coats. Satin lacquer is a tough, wipe-clean finish that is good for households with children or frequent entertaining. Epoxy flood coat creates a high-gloss, glass-deep finish that is highly durable. The finish you choose should match your lifestyle and maintenance preferences.
Step 5: Confirm the Design and Price
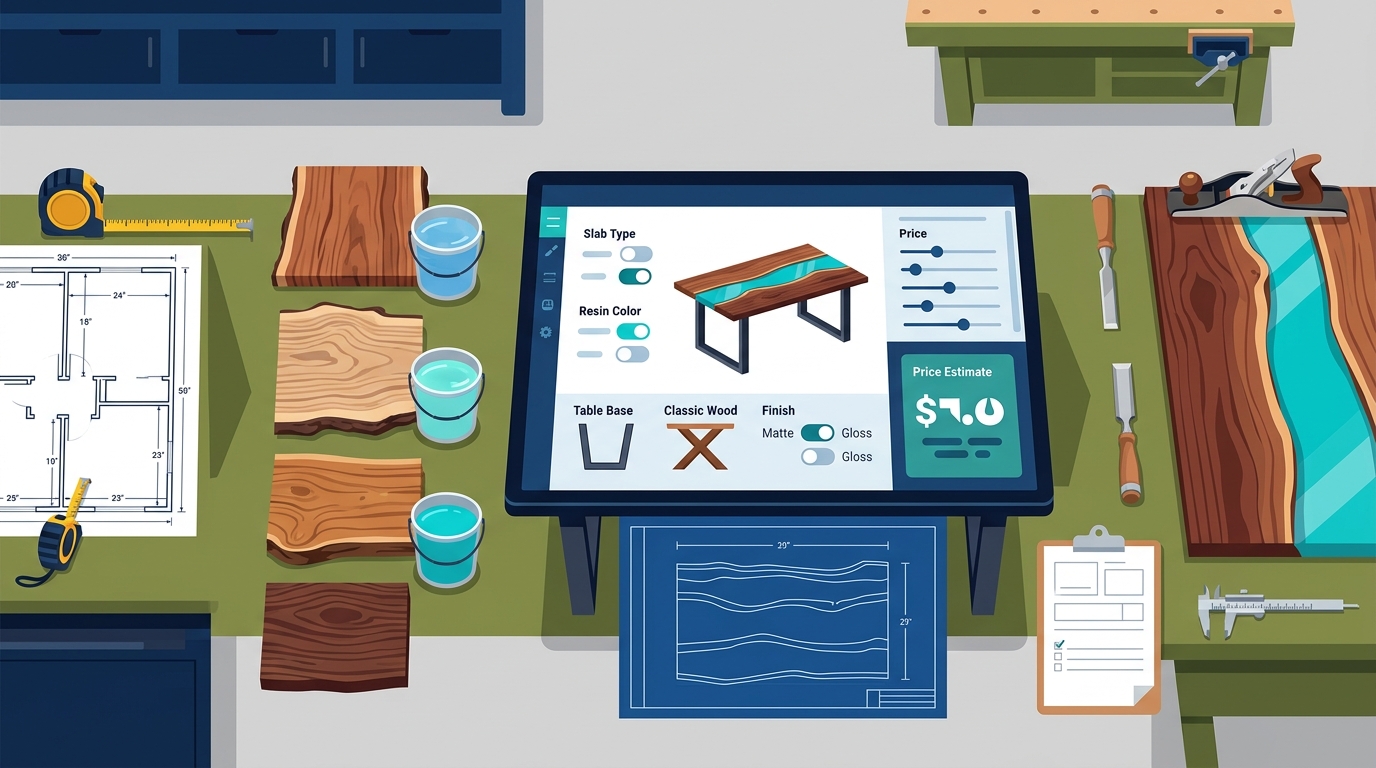
Once you have selected the wood, resin, base, and finish, you can review your design and estimate. The estimate is based on the specific choices you have made, and it provides a range of prices. The final price depends on the exact slab you choose, as each slab is unique in size and shape. The builder will confirm the final price in writing before any cutting begins. This ensures there are no surprises and that you are comfortable with the investment.
After confirming the design, you can reserve your place in the build schedule with a deposit. The deposit is credited in full toward the final price. The builder will then reach out to discuss the design, send photos of slab options, and confirm the final details. This process ensures that the table is built to your exact specifications and that you are satisfied with the result. The build time varies depending on the complexity of the design and the current workload of the shop.
Key Takeaways
- Measure your room and determine the function of the table before starting the design process.
- Choose a wood species that complements your interior design and handles humidity well.
- Select a resin color and style that creates the desired visual impact.
- Pick a base and finish that match your aesthetic and lifestyle needs.
- Confirm the final price in writing before any cutting begins to avoid surprises.
- Reserve your build slot with a deposit that is credited toward the final price.
Frequently Asked Questions
How long does it take to build a custom resin river table?
The build time varies depending on the complexity of the design and the current workload of the shop. Typically, a custom table takes several weeks to complete. The builder will provide a timeline after you confirm your design and reserve your slot.
Can I change my design after reserving?
Yes, you can change the size, base, resin color, or finish during the design conversation, right up until the slab is cut. Once the slab is cut, changes may not be possible.
What is the difference between a river table and a waterfall table?
A river table features two slabs with live edges facing each other, with resin poured in the center. A waterfall table runs the grain over one end and down to the floor. You can also combine both styles in a single piece.
Is the resin food-safe?
Yes, the resin used in river tables is food-safe and cured to a hard, durable surface. It is safe for serving food and drinks, and it is easy to clean.
How do I maintain my resin river table?
Maintenance depends on the finish you choose. Hardwax oil and tung oil require periodic reapplication to maintain protection. Lacquer and epoxy finishes are more durable and require less maintenance. Avoid using harsh chemicals or abrasive cleaners on the surface.